How Hubber works: one job from enquiry to paid
Most trade businesses carry a job between an inbox, a diary, a group chat and an invoicing app. Hubber keeps it in one place. This page follows a single job through all seven stops, then lists what you do to get set up.
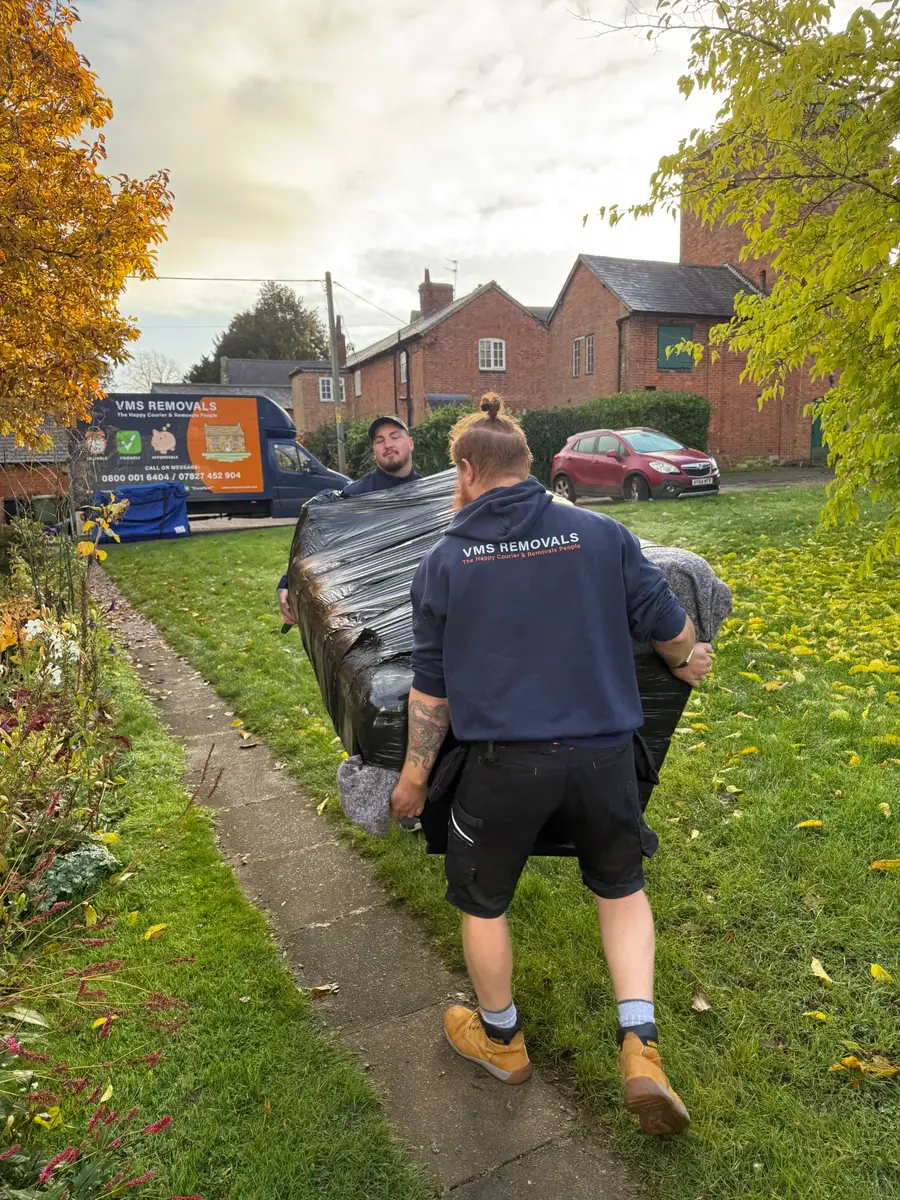
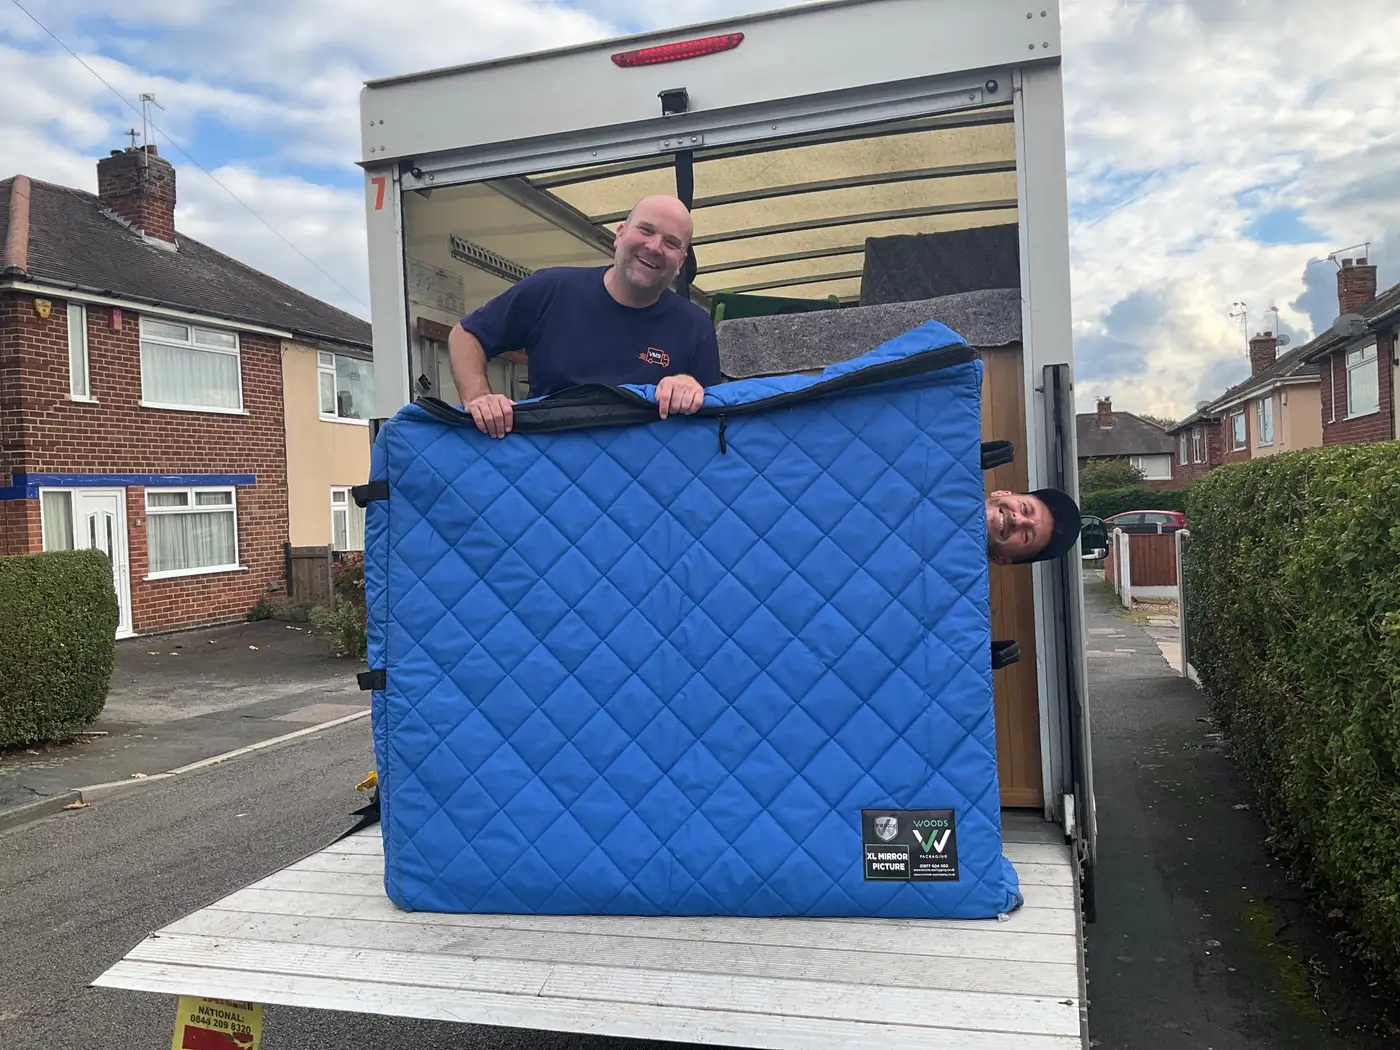

Real crews on real jobs, from the removals company Hubber was built in.
1. The enquiry arrives
A customer fills in the form on your website, rings the office, or comes through a lead provider you pay for. Each one lands in the same list with the customer's details and what they asked for. Nobody copies it out of an email.
- Build your own enquiry form, one per service, and put it on your website.
- Log every call, text and email against the lead, so anyone can see who has been chased.
- Leads from Pinlocal and Getamover arrive without retyping.
2. You survey the job
Book the survey from the lead and the customer gets a confirmation. The surveyor works through your own questions on a phone or tablet, at the property or on a video call, and adds photos as they go.
- The questions change with the service, so a clearance is not asked about pianos.
- Addresses are found by postcode.
- The finished survey can be printed, downloaded as a PDF or emailed.
3. You send the quote
Build the quote from your price book, add any offer and your terms, and send a link. The customer reads it on their phone and signs it there. If you take deposits, the deposit invoice is raised the moment they sign.
- You see when the customer has opened the quote.
- A follow-up email can go out by itself if they go quiet.
- If the price changes later, revise the quote and Hubber keeps the earlier version.
4. The job is booked and crewed
The accepted quote becomes a job on the calendar. Build the week's rota, put people into coloured teams and give each team its jobs and its van. Nothing reaches the crew until you publish, and then each person gets one message with their week.
- Staff see only their own days and their own jobs.
- Each team's day is put in a sensible driving order.
- The customer gets a date confirmation and a reminder before the day.
5. The crew runs the job
On the day the crew opens the job on a phone. It shows the address, the survey, what was quoted and your checklist. They sign in, do the walk-through with the customer, take the photos you ask for and record anything that goes wrong.
- Required steps must be done before the job can be closed.
- Extras and overtime agreed on the day are added to the bill.
- The customer signs on the phone, or a typed name is recorded if they cannot.
6. The invoice is raised and paid
Closing the job raises the final invoice, with the deposit already taken off and any extras added. The customer can pay by card there and then from a code on the crew's phone, or later from the emailed link. Cash and bank transfer can be recorded too.
- Card payments go to your own payment account, not to Hubber.
- The customer receives the invoice or a receipt by email.
- Unpaid invoices get a reminder, and the office sees who still owes what.
7. The figures are already done
A paid invoice shows in your accounts without anyone entering it. Costs sit beside it: wages from approved pay runs, expense claims, van maintenance and the bills you record. You can see what a single job made and what the whole business made that week, month or year.
- Profit and loss by week, month or year.
- VAT on sales and on costs, if you are registered.
- Connect your bank and transfers are matched to invoices as they arrive.
- A pack of CSV files to hand to your accountant.
Getting set up
Seven steps take a new company from an empty account to a working one.
- Name your services. List the kinds of work you do, such as home moves, clearances or boiler services. Surveys, forms, checklists and emails are all set per service.
- Add your price book. Enter the things you charge for and their usual prices. Quotes are built by picking from this list.
- Add your team and send logins. Add each person, choose their role and send an invite to their email. They set their own password.
- Build the rota. Put people on the days they work, group them into teams and publish the week.
- Connect card payments or add bank details. Connect your own Mollie account to take cards, or enter your bank details so they show on every invoice.
- Switch on customer emails. Choose which emails customers get at each step, and reword any of them to sound like you.
- Put the enquiry form on your website. Copy one line of code into your site, or send customers the link. Enquiries start arriving in Hubber.
New companies get a setup guide on the dashboard that walks through most of these steps and a few more, and the Help Centre inside Hubber has a guide for each one. You do not have to finish them all before you start. Most owners send a first quote on day one and add the rest as they need it.
Around the job
The job is the centre of Hubber, but it is not all of it. The same system holds staff records and training, van checks and MOT dates, stock, customer storage, the bank feed, the AI assistant and the customer portal. Because they share the same customers, staff and jobs, nothing is typed twice.
Run your next job in Hubber
Start a 14-day free trial. Set up your services, send a quote and book a job today.
A card is needed to start the trial. You are not charged until day 15, and you can cancel before then.